Crafting a Custom Lighting Solution
Ever since I bought my first Phillips Hue RGB lights, I've had an undeniable love for RGB lighting. It wasn't long ago when I worked on embedding custom LEDs for my arcade machine, and oh, the results were worth all the pain! I knew I had to do the same for my next PC build.
However, as much as I love RGB, when it comes to commercially available PC hardware controllers, it's hard to ignore the limitations that come with them. Many of them just don't offer the range of effects that a true LED enthusiast craves. On the software side, while there are solutions available, they often come with bugs and limiting features, causing more frustration than its worth. And let's not even get started on trying to make different hardware components play nicely together—it's a compatibility nightmare!
So, with a mix of passion and a pinch of frustration, I set out to create a custom lighting solution for my new computer case, hoping to overcome these challenges.
Choosing the hardware
Firstly, all of the LEDs have to be addressable to get the most out of our controller.
The LED controller
Around the rest of the house, I run WLED on QuinLED boards. I love the flexibility and effects WLED gives you. The boards are also small enough to fit in the case and even better, I can run/manage the LEDs independently of the computer which means no more horrible LED software to deal with in Windows.
Case lighting
The case has already been chosen but we're lucky, the NV7 comes with some really stylish case lighting.
Fans
This was an easy choice. The Phanteks D30's come with 15 addressable LEDs each, they also come in a reversible variant meaning that no matter where the fan is positioned, we can always get the full RGB effect.
Water cooling components
As well as the classic RGB elements, I wanted to get cooling components with RGB. I settled with the blocks from EK waterblocks, each component comes with its own addressable RGB strips - even the flow meter!
Powering the controller
To power the Dig Uno, I knew I wanted to use the PCs PSU. I originally wanted to find a constant 5v rail so that I could power the LEDs even while the computer is off - it is a showcase PC after all I want to show it off even when the PC is off - I told you I love RGB.
Although there is a constant 5v rail on the 24 pin cable, there is a question about how many amps its rated for. I need to dive into this more and do some calculations but thats going to take a little more time so for now, I opted to make a custom connector which hooks up to the sata cables. Nice easy 5v to steal there. I'll come back to the constant power issue at a later date.
Parallel vs Series
If you want to have effects which run up and down a group of LEDs, the LEDs have to be wired in series. But here's the catch: most standard PC RGB setups wire their LEDs in parallel. This arrangement restricts effects to individual components, resulting in far less dynamic displays than what we want. So we need to do a bit of custom wiring.
Starting with the case, it came equipped with two LED strips framing the motherboard. Converting these from parallel to series was relatively straightforward. I simply soldered a wire to the data terminal of one strip and extended it to connect with the other. Voilà! Both strips now functioned in series.

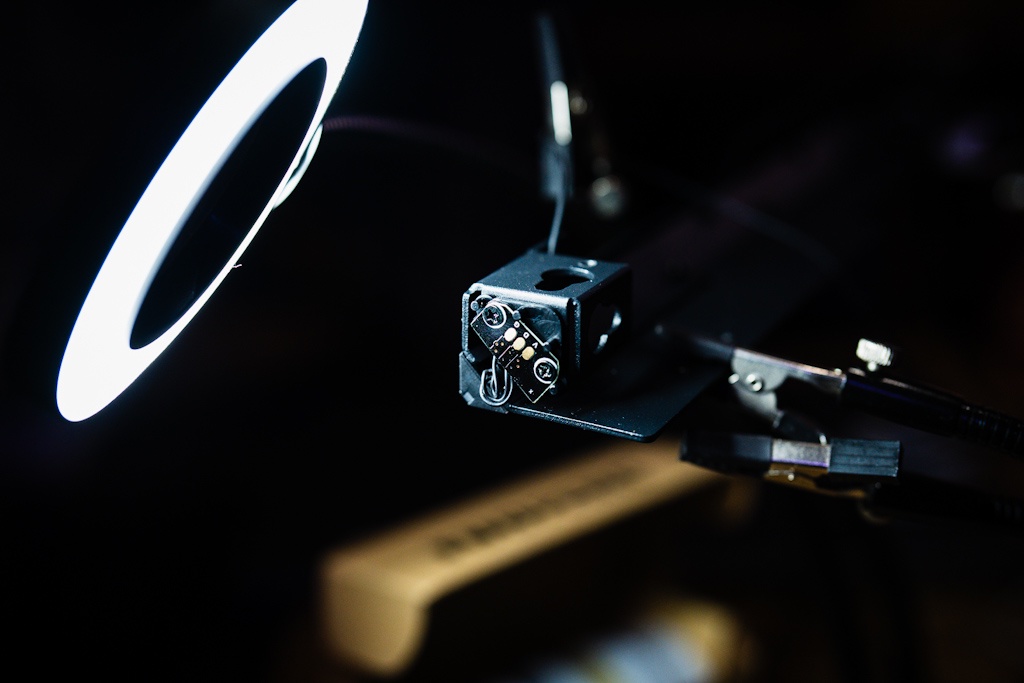
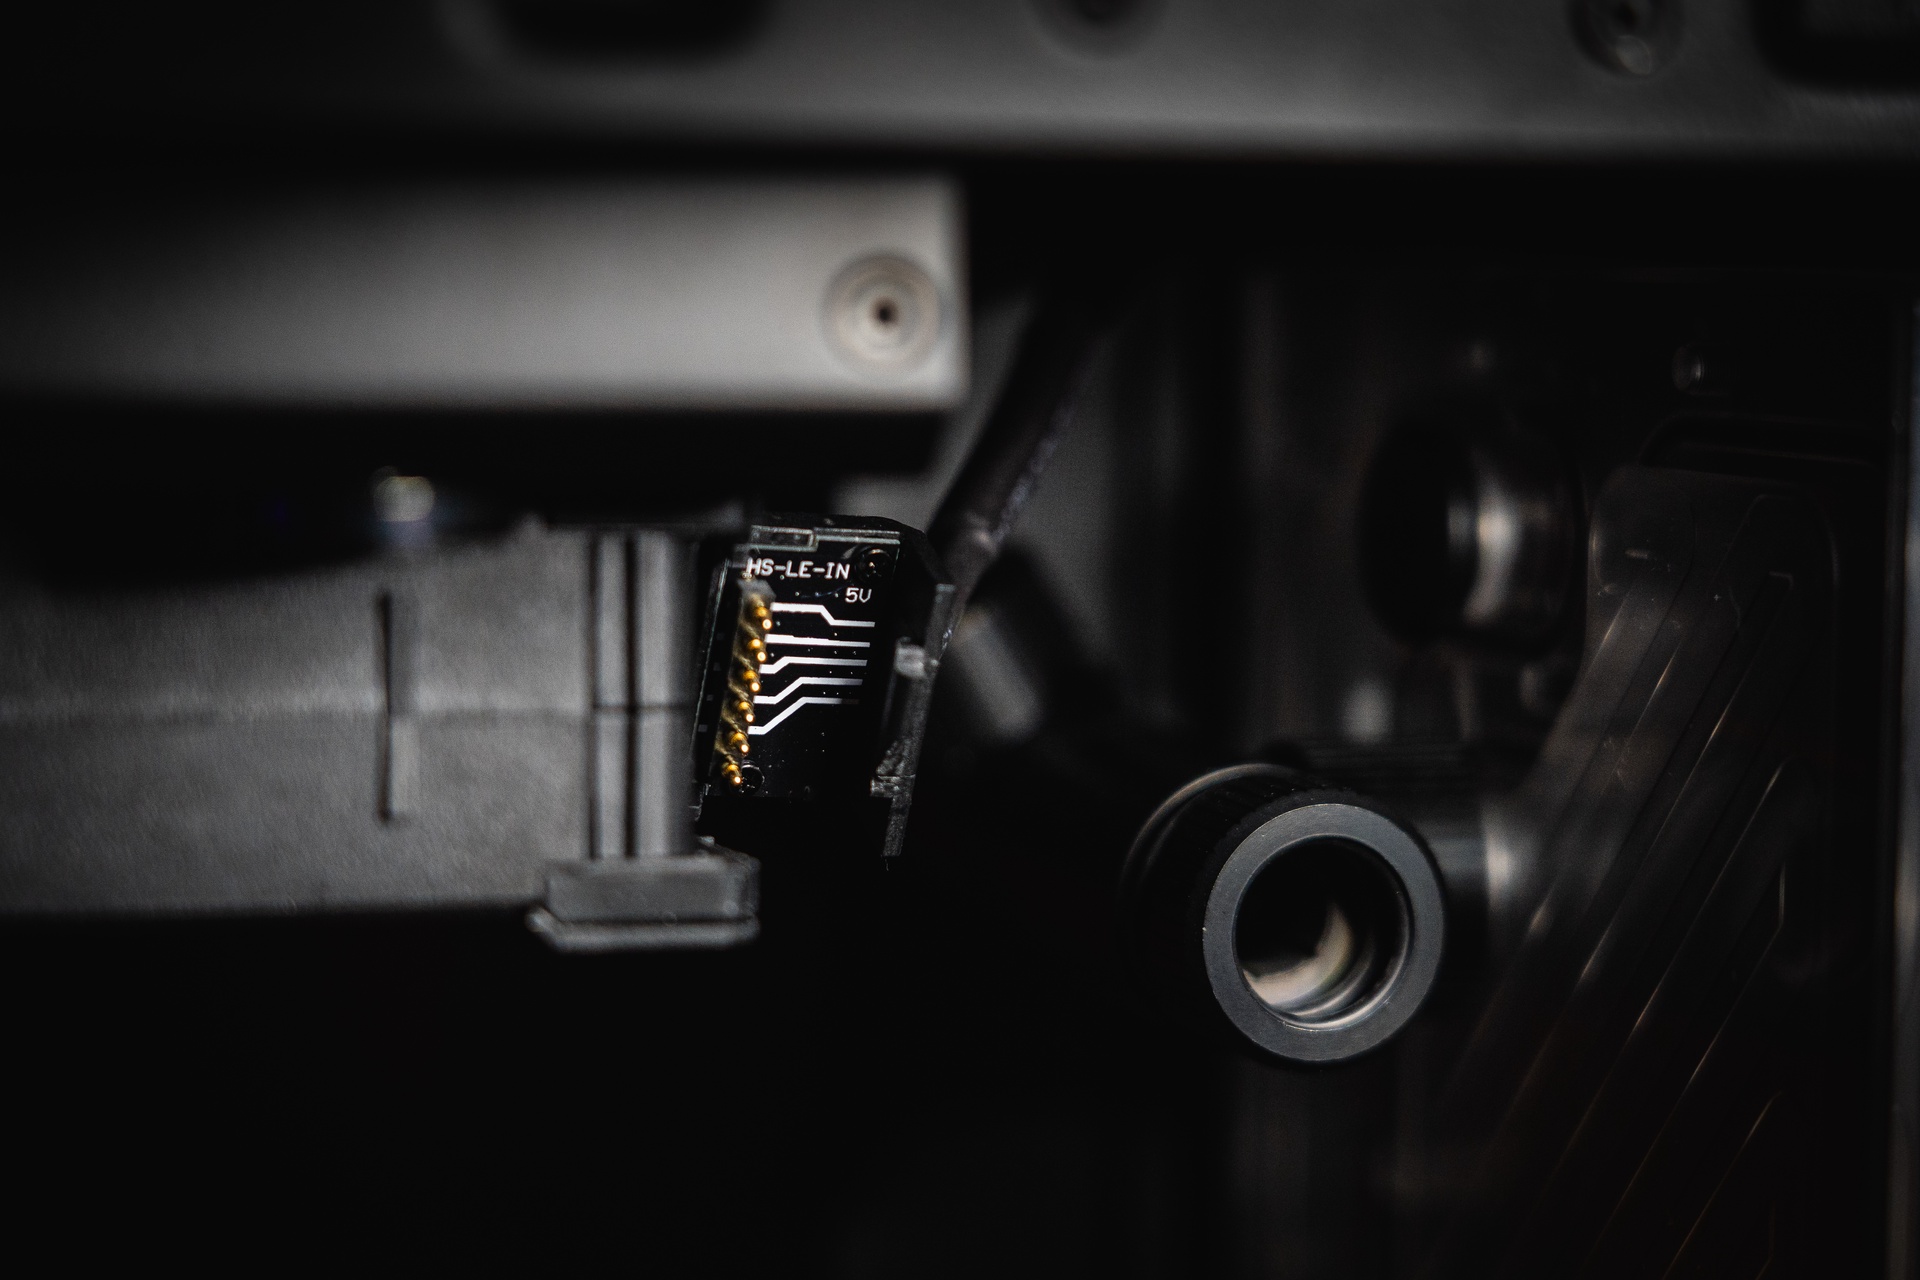
The fans, however, posed a more intricate challenge. These fans were equipped with proprietary connectors, with power and data injected from one side. The flip side of these connectors had to be tweaked a bit. Due to a design meant to prevent incorrect installation, some plastic trimming was necessary to make them fit. After adjusting the connectors, the next step was to identify the wire associated with the data terminal. Once located, it was wired directly to the data input of the subsequent fan cluster. Repeating this process linked all eight fans in a series.

Then came the EK water components, and they were a different ball game altogether. Because of their design, the ends of the LED strips within these components were inaccessible. This made it impossible to extend the data line from one to the next, leaving me with no choice but to maintain a parallel configuration. I did consider introducing an intermediary microcontroller to create a simulated series circuit, but the potential gains seemed to be outweighed by the complexity of the task. For now, I've made peace with having slightly reduced control over these components. If it bothers me in the future, I might revisit the idea.
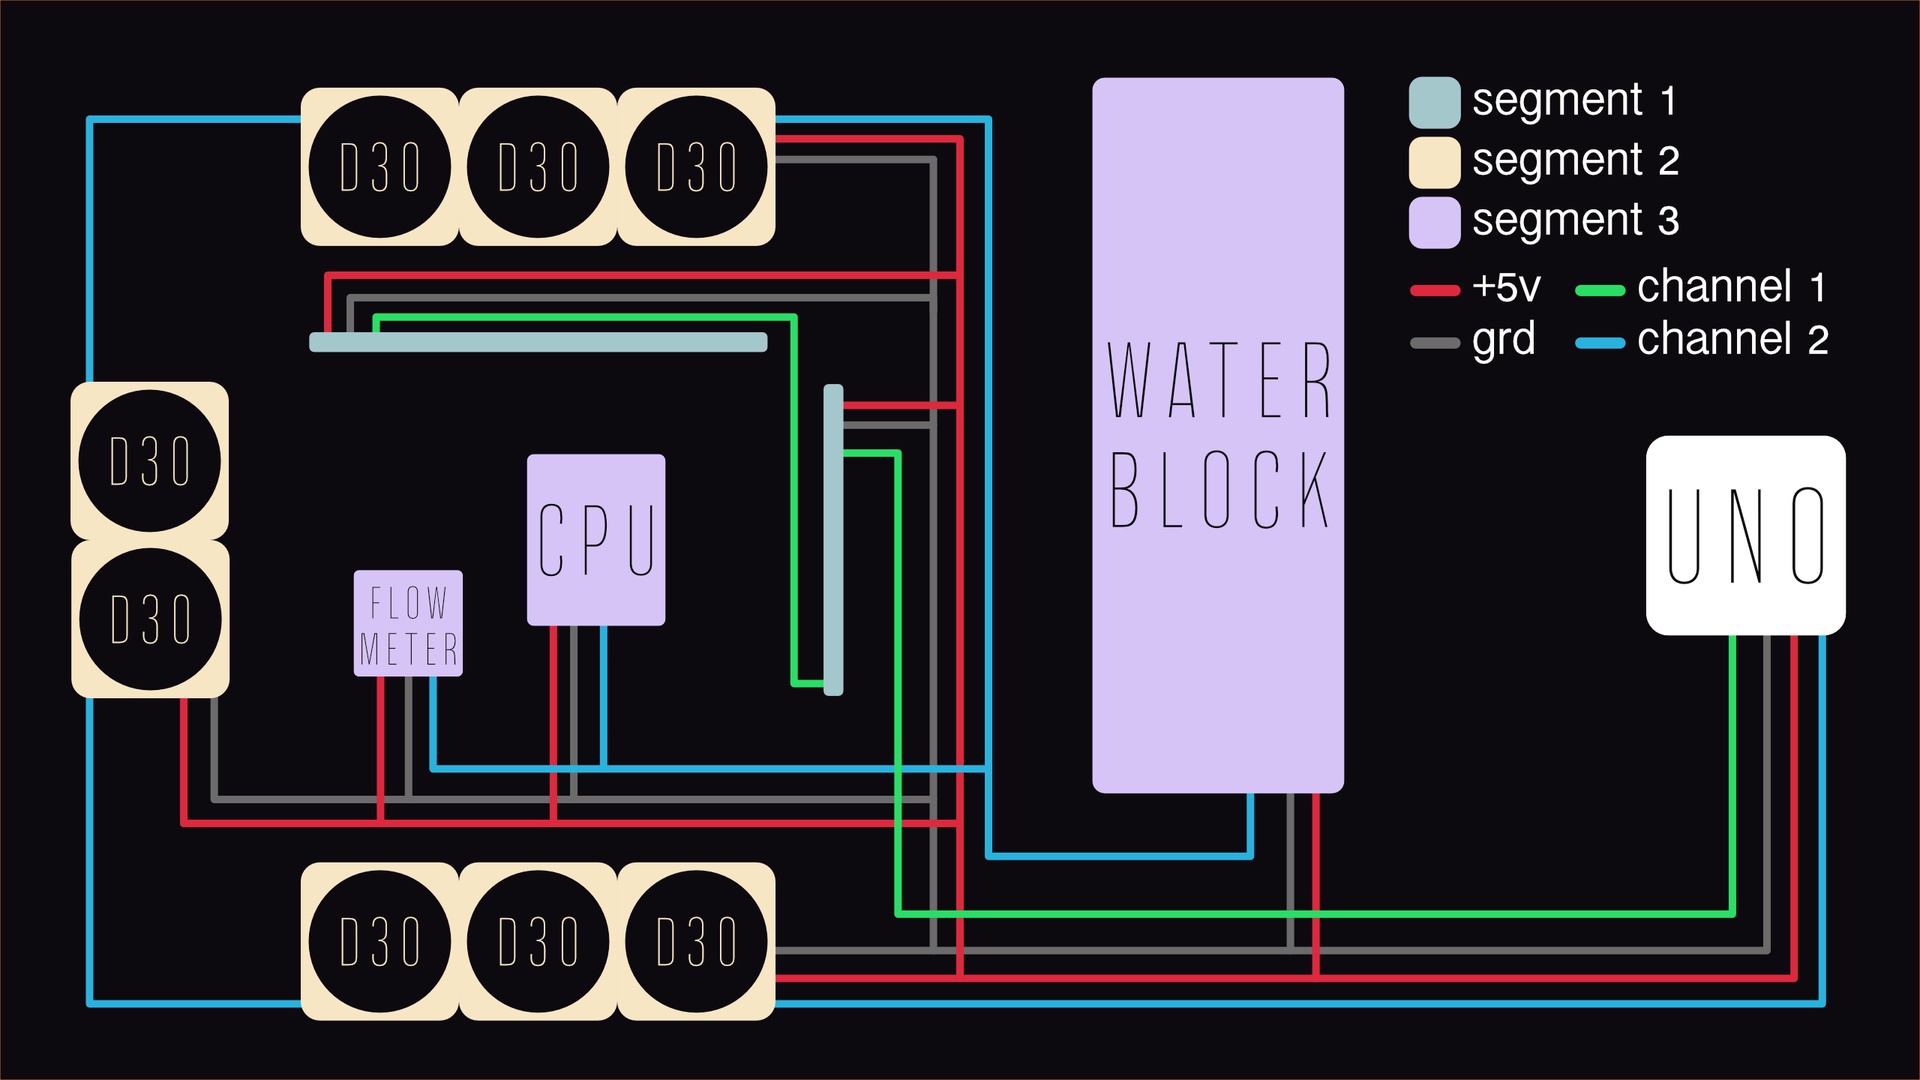
This configuration has left me with 3 groups of LEDs which can all be controlled independently. Heres a look at the final wiring diagram.

The result
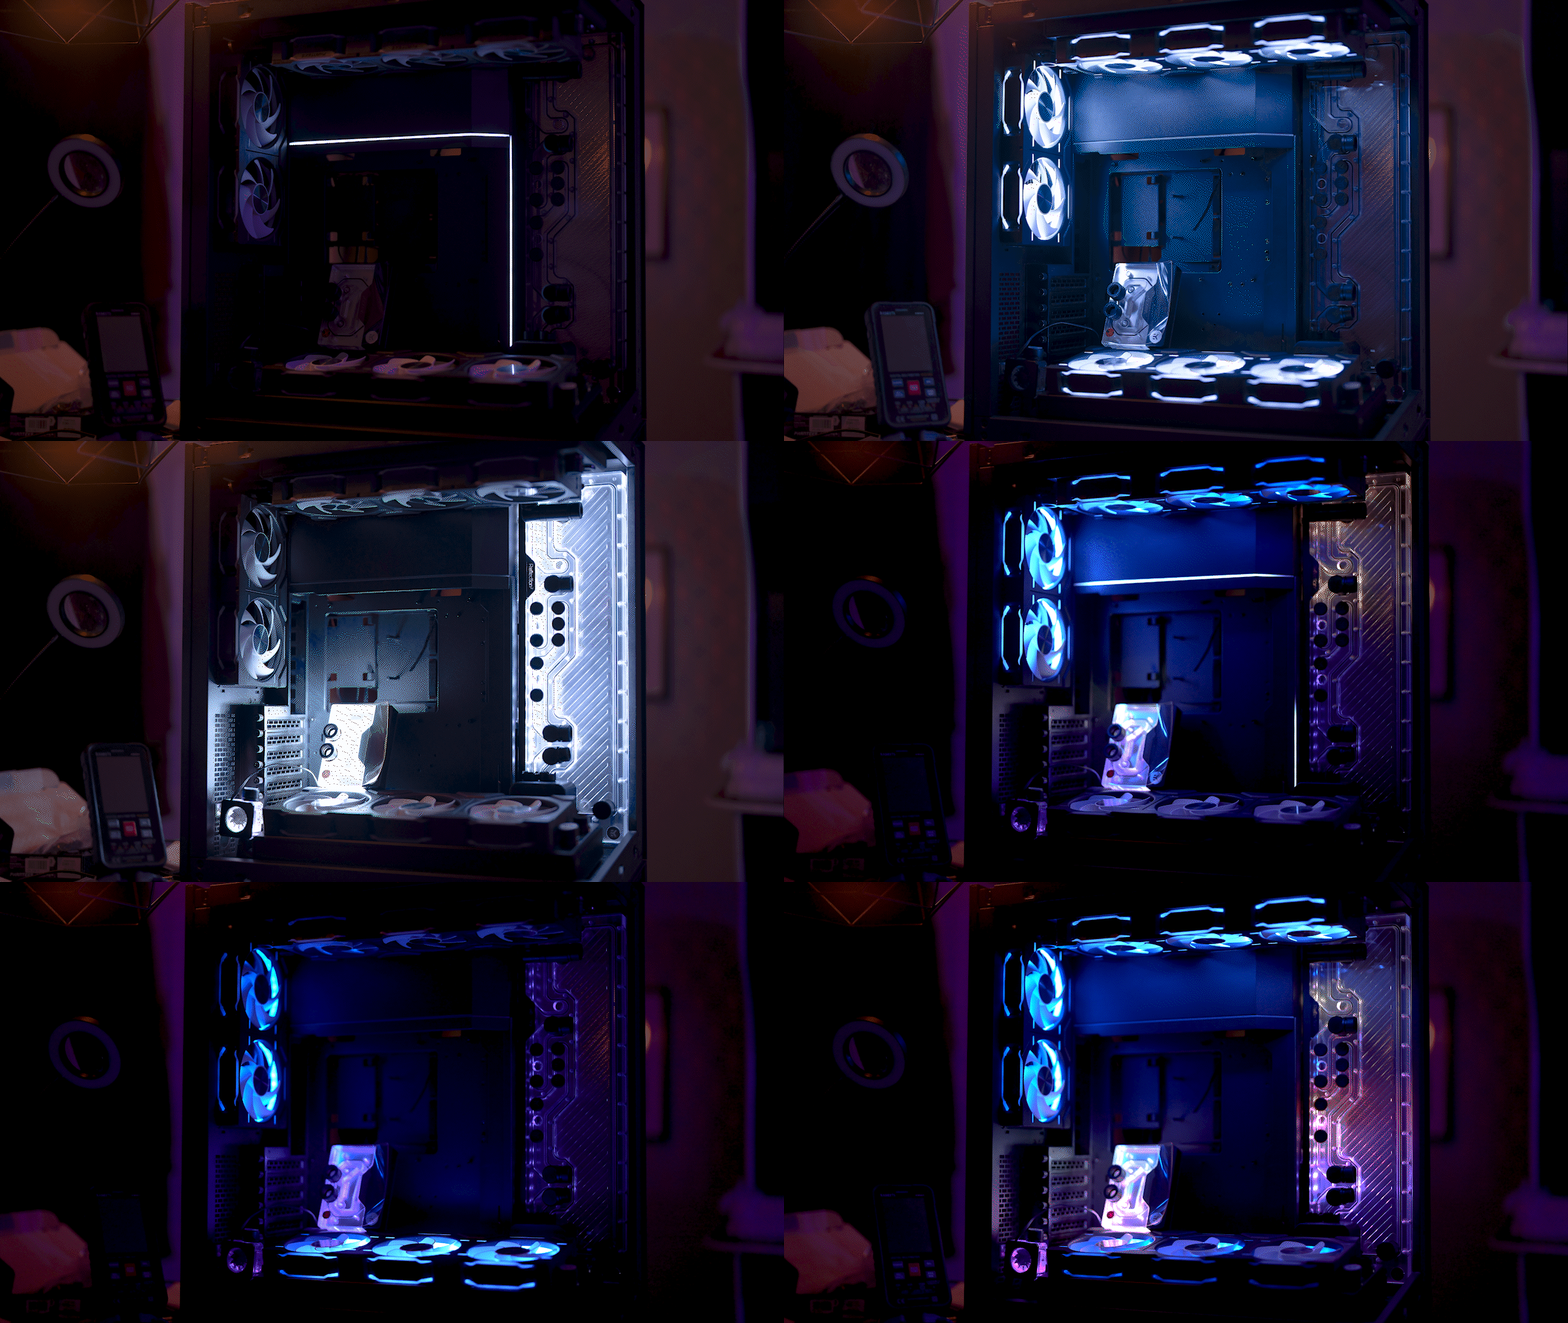
The results are amazing. I have never had this much control over my PC lighting before. Having the power of WLED behind the LEDs means I can show this case off in any style I like from classic and classy to fully sequenced RGB vomit animation if I so wish.
I'll let it speak for itself

And hey, WLED has an API and we all know that means event based lighting is on the horizon...